Quantcast
Channel: R-pod Owners Forum : Podmods, Maintenance, Tips and Tricks
Viewing all 20725 articles
Browse latest View live

Podmods, Maintenance, Tips and Tricks : 30 amp cord weather boot broke

$
0
0
Author: StephenH
Subject: 30 amp cord weather boot broke
Posted: 10 Aug 2018 at 10:28pm

Order one from Amazon. Use hot water to soften the plastic of the fitting and slide the ring over it. Then put it in position and tighten the ring until the plastic flange cools and sets. I had to do this when I accidentally ran over ours.

Podmods, Maintenance, Tips and Tricks : Potential converter problem

$
0
0
Author: GlueGuy
Subject: Potential converter problem
Posted: 10 Aug 2018 at 10:33pm

Originally posted by fwunder

Just wanted to add...

Turns out the PD4655V draws about 950 watts @ full load and AC (measured) is 1600+ watts.
55 amps at 14.5 volts comes out to "almost" 800 watts. Was that a measured value that you got?

Podmods, Maintenance, Tips and Tricks : Potential converter problem

Podmods, Maintenance, Tips and Tricks : Potential converter problem

$
0
0
Author: Ghosthawk
Subject: Potential converter problem
Posted: 11 Aug 2018 at 7:39am

One of the things I saw on youtube that made sense was an RVer who had a small 150a inverter that would plug into cig lighter. He used it to run a 12 v charger and charged a spare 12v battery when he was traveling. Battery sat on passenger side floorboards while charging. Fairly low cost and trouble free backup.

I think bringing a decent battery charger will be a must for me.

Solar will also help.

I have a deep cycle marine battery, brand new. Bought to run Elec trolling motor. I think it will be coming with.  A set of jumper cables and I have a spare backup battery.

I certainly do not intend to rely on the converter. The only question is if it is worth it to replace it. Or just find a small battery charger hooked up and wired to shore power.

Podmods, Maintenance, Tips and Tricks : Electrical panel box

$
0
0
Author: Ghosthawk
Subject: Electrical panel box
Posted: 11 Aug 2018 at 7:44am

Yes I discover that myself a few days ago.

Pretty nice feature actually.

The other thing I liked was that the wire color for each 12 v fuse was listed on the board.
Making finding the right wire to splice and power a 12v plug with 2 USB ports dead easy. I chose the 7.5 furnace fuse as I don't anticipate using the furnace a lot. And the plug in was for a 20" 12 v fan that should not need a lot.

I pulled the fuse to splice the wire and saw the little red light come on.

Cool beans!

Podmods, Maintenance, Tips and Tricks : Pod People's 179 Mod's

$
0
0
Author: David
Subject: Pod People's 179 Mod's
Posted: 11 Aug 2018 at 5:27pm


"I am better at Pod mods than my computer!"

Well, you have your priorities right!   

If you don't mind, I'll delete the stuff that I posted about pictures. I think it would distract from the good stuff you are writing for the rest of us.

Podmods, Maintenance, Tips and Tricks : Potential converter problem

$
0
0
Author: DavMar
Subject: Potential converter problem
Posted: 11 Aug 2018 at 5:41pm

Originally posted by fwunder

Dave,
I haven't done it yet. It will require a small bit of soldering. ==> https://www.progressivedyn.com/wp-content/uploads/2017/05/PD92201_for_PD4600.pdf
Hope that helps,
fred


Fred,
It helps allot, thanks! I had my RV repair shop replace the converter since they helped bail me out of trouble when I was on the road and it failed. So now I need to also contact them to see if they still have the harness connector that should of come with the converter. If not I guess I'll be buying one from Progressive Dynamics when I call and I also have your post in front of me when I talk to them. Again thanks!

Dave

Podmods, Maintenance, Tips and Tricks : Pod People's 179 Mod's

$
0
0
Author: Pod People
Subject: Pod People's 179 Mod's
Posted: 11 Aug 2018 at 5:41pm

Well, now maybe I know how to post larger pictures!!
I will continue with some interior mods--

Our interior modifications started with the kitchenarea.  I added a flip up counter topextension at the end of the counter and covered the stove with a nice woodencutting board.

 https://s19.postimg.cc/pdy21p24j/IMG_0528_flip_shelf_and_stove_cover_Large.jpg


We installed a new bar sink (Elkay #D117193 Dayton, 17”x19” 3 hole) ,a single handle faucet set( Moen Brecklyn)  and a hanging rack from Ikea. The rack getsremoved for travel.


I built a new top drawer in the kitchen to utilize the spaceunder the sink much better


We added a shelf to the upper pantry cabinet and a spicerack on the door.


I also added a 12 volt receptacle and mounting block for ourfan at the top of the pantry. .  Weactually have 2 fans-one for the kitchen and one for the bedroom.  Both fans can be turned to blow into thedinette/couch area.  One fan is 12 voltand the other is 1110 volts, so both fans can be run on 12 volt with theinverter.


More to come

thanks for looking

Vann


Podmods, Maintenance, Tips and Tricks : Pod People's 179 Mod's

$
0
0
Author: Pod People
Subject: Pod People's 179 Mod's
Posted: 11 Aug 2018 at 5:43pm

another mistake!!
here is the counter top extension and stove cover

Podmods, Maintenance, Tips and Tricks : Replacing the propane detector sensor

$
0
0
Author: DavMar
Subject: Replacing the propane detector sensor
Posted: 11 Aug 2018 at 5:52pm

CO my mistake why I want to tag on a 2 I don't know! Embarrassed

I would never disable any alarm unless I was 100% plus that all was good. The only reason I even contemplate being able to turn it off was is when I found out that if the DC voltage to it drops it will trigger the alarm because it senses it as a fault condition and not a Propane leak or CO build up. It tells you the alarm itself is at fault by a blinking LED along with the alarm beeping. Hopefully now with a new converter its all a non issue.


Podmods, Maintenance, Tips and Tricks : Pod People's 179 Mod's

$
0
0
Author: Pod People
Subject: Pod People's 179 Mod's
Posted: 11 Aug 2018 at 5:54pm

We replaced the ugly fake leather/naugahyde trim around theslide out with real wood stained to match the interior.


A major turn off was the useless dining table.  Since there are just 2 of us, we do not needto make the dinette into a bed, so we do not need to keep the table.  We scrapped the original table and built anew one.  The original table was 20”x38”and the new one is 24”x42”.  It is ¾”birch plywood sitting on 2 metal columns that are mounted to 5/8” plywood onthe floor.  The floor plywood is sized tofit tightly between the hassocks so it does not move.  The table is easy to disassemble for travel,can be used outside in the R dome and is very sturdy. 


Laura made a nice privacy and light blocking curtain for thebedroom area.  It is hung on a 5/8”aluminum tube with ½” wood dowel inside for strength.  I made custom wood curtain blocks to supportthe rod at each end.  The rod support onthe radio side also contains a power switch to completely turn off theentertainment system.


We wanted a shelf over the bed, but did not like the feel ofit being over our heads.  So, we put theshelf in a front to back orientation on the curb side.  This required relocation of the tv, which welowered. We added a metal plate on the inside of the wardrobe to help supportthe tv.  Now, the tv is in a much betterposition for watching from the couch or in bed.


more later

Vann

Podmods, Maintenance, Tips and Tricks : Pod People's 179 Mod's

$
0
0
Author: StephenH
Subject: Pod People's 179 Mod's
Posted: 11 Aug 2018 at 6:48pm

Those are some very nice mods. I have been using a spring-tension rod for our curtains. I think I will take a hint from you and make wooden brackets for the ends. I also will have to see if I can re-work my kitchen drawers. I had previously lengthened the bottom two, but the top is still short due to the drain hose for the sink being in the way. I may re-work the drain as well to see if I can make more usable space and then change the top drawer to take advantage of it like you did.

I'm not sure I could move our propane tank any farther forward. The space between it and the jack is tied up with the support leg for the Stomberg-Carlson Trailer Tray. Since my generator travels there, I won't be moving the tanks but may at some point swap for a dual-tank setup.

Podmods, Maintenance, Tips and Tricks : Replacing the propane detector sensor

$
0
0
Author: StephenH
Subject: Replacing the propane detector sensor
Posted: 11 Aug 2018 at 6:55pm

With good power, mine has never sounded except when I bump into it and end up pushing the self-test button. Then I get a reminder that when it is time to replace it, to replace it with a recessed mount model that is flush with the wall. I frequently bump the existing one and pop it off its mount partially or fully.

Podmods, Maintenance, Tips and Tricks : Replacing kitchen faucet with pulldown

$
0
0
Author: StephenH
Subject: Replacing kitchen faucet with pulldown
Posted: 11 Aug 2018 at 6:59pm

You could look in my mods (see link in signature) to see what I chose. I got the one that has all the works above the sink. The hose is run through a large spring and the faucet hooks into a support arm. It makes a big loop up and over. It avoids having a big weight swinging around under the sink while we are traveling down the road. Plus, I thought it looked nicer.

Podmods, Maintenance, Tips and Tricks : dry camping with a separate 12 volt battery

$
0
0
Author: StephenH
Subject: dry camping with a separate 12 volt battery
Posted: 11 Aug 2018 at 7:04pm

I went with dual 6V batteries (Duracell 215 AH GC2 batteries from Batteries + Bulbs) wired in series to provide the 12V needed. I don't need to do anything more than check the electrolyte level periodically. The converter (or truck if we are traveling with overnight stops) keeps them well charged. I could likely go several days but I do use my generator if we are somewher elonger than a couple of days without shore power to at least partially recharge the batteries. Some places limit generator operating hours.  I may get solar panels one of these days, but ti is not on my high-priority list.

Podmods, Maintenance, Tips and Tricks : Replacing kitchen faucet with pulldown

$
0
0
Author: Ben Herman
Subject: Replacing kitchen faucet with pulldown
Posted: 11 Aug 2018 at 8:14pm

Originally posted by StephenH

You could look in my mods (see link in signature) to see what I chose. I got the one that has all the works above the sink. The hose is run through a large spring and the faucet hooks into a support arm. It makes a big loop up and over. It avoids having a big weight swinging around under the sink while we are traveling down the road. Plus, I thought it looked nicer.

Thx, I'll check that one out. Looks like its a std faucet rather than rv-model, but I assume that the adapters are a simple fix. 

Podmods, Maintenance, Tips and Tricks : Replacing kitchen faucet with pulldown

$
0
0
Author: StephenH
Subject: Replacing kitchen faucet with pulldown
Posted: 11 Aug 2018 at 8:55pm

Yes, I used a couple of adapters from the local store (I don't remember if I got them at Lowe's or Home Depot).

Podmods, Maintenance, Tips and Tricks : Replacing kitchen faucet with pulldown

$
0
0
Author: Pod People
Subject: Replacing kitchen faucet with pulldown
Posted: 11 Aug 2018 at 10:23pm

Hey Ben,we used a nice Moen unit from Home Depot.  It is the Bricklyn and you can see a picture in the post I made about our 179 mods. we both like this faucet and it was easy to install and reasonably priced.
when we changed ours, we had to cut the original supply lines  much shorter to match the supply lines that come installed on the faucet.  I added stop valves on both supply lines so I can control them individually.
It is a tight fit between the edge of the existing sink and the ledger supporting the counter top.  check the width of the base plate. We replaced the sink at the same time. It was a tight fit, but careful measuring and sawing with a jig saw made it work.
good luck
Vann

Podmods, Maintenance, Tips and Tricks : Pod People's 179 Mod's

$
0
0
Author: Pod People
Subject: Pod People's 179 Mod's
Posted: 11 Aug 2018 at 10:53pm

Here is the next installment of interior mods for our 179

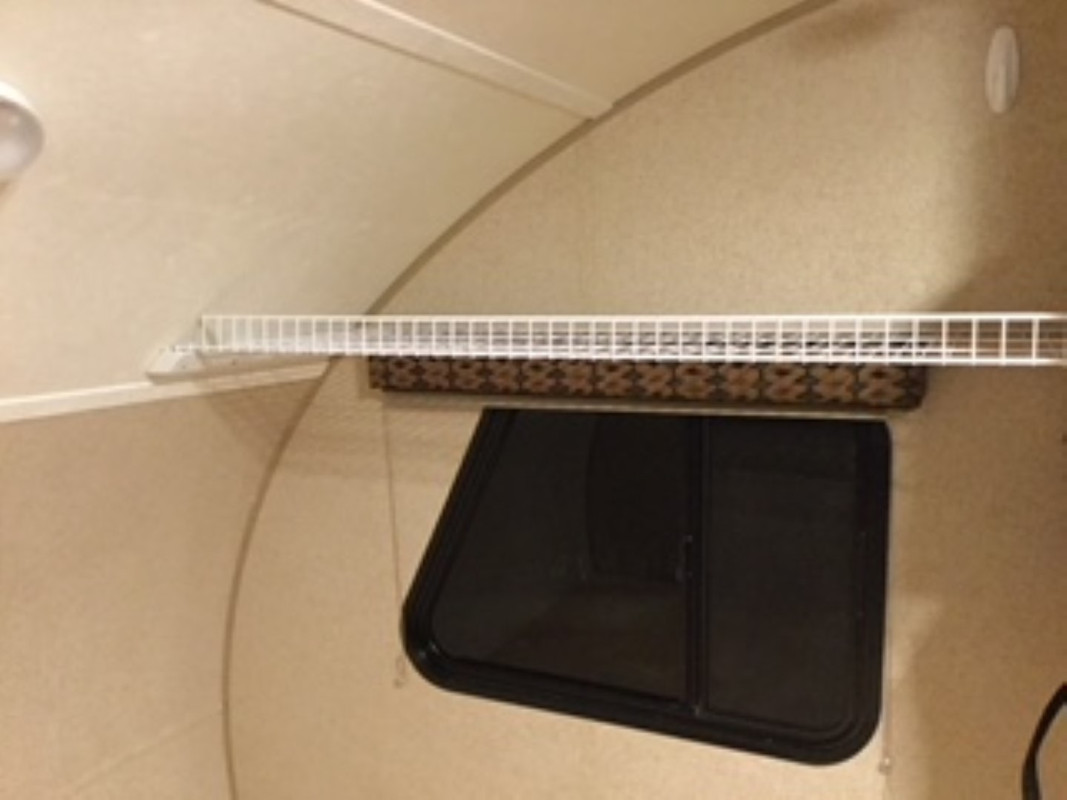
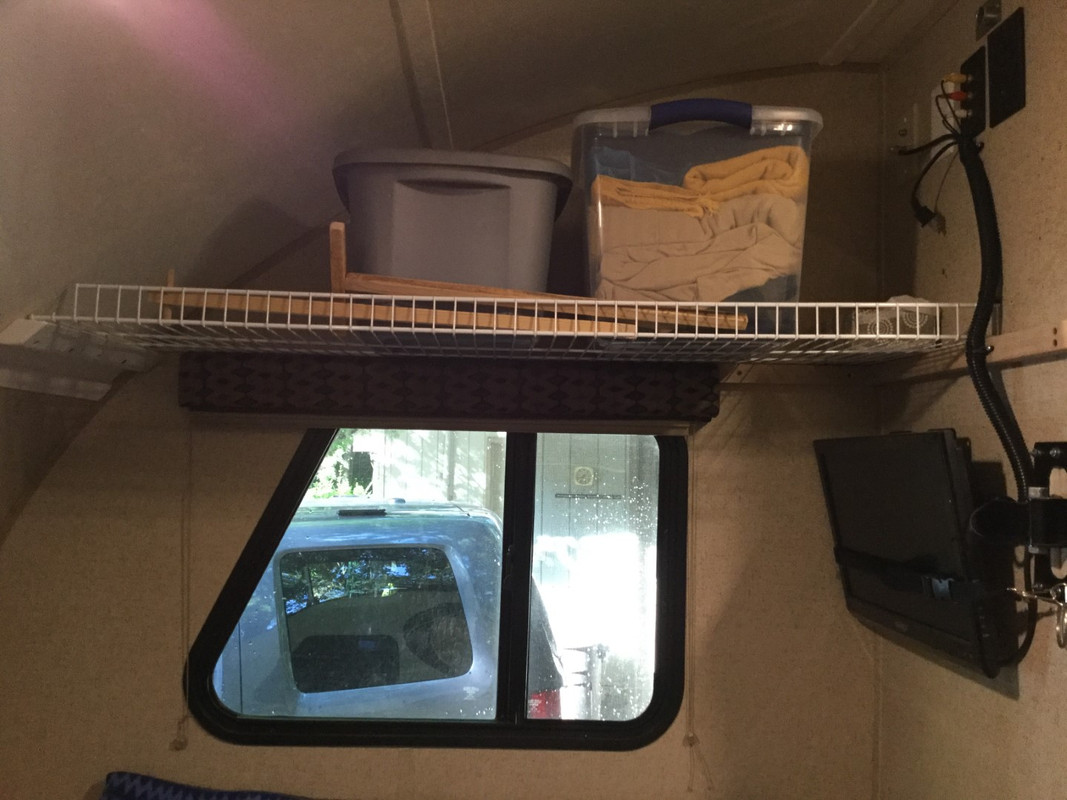
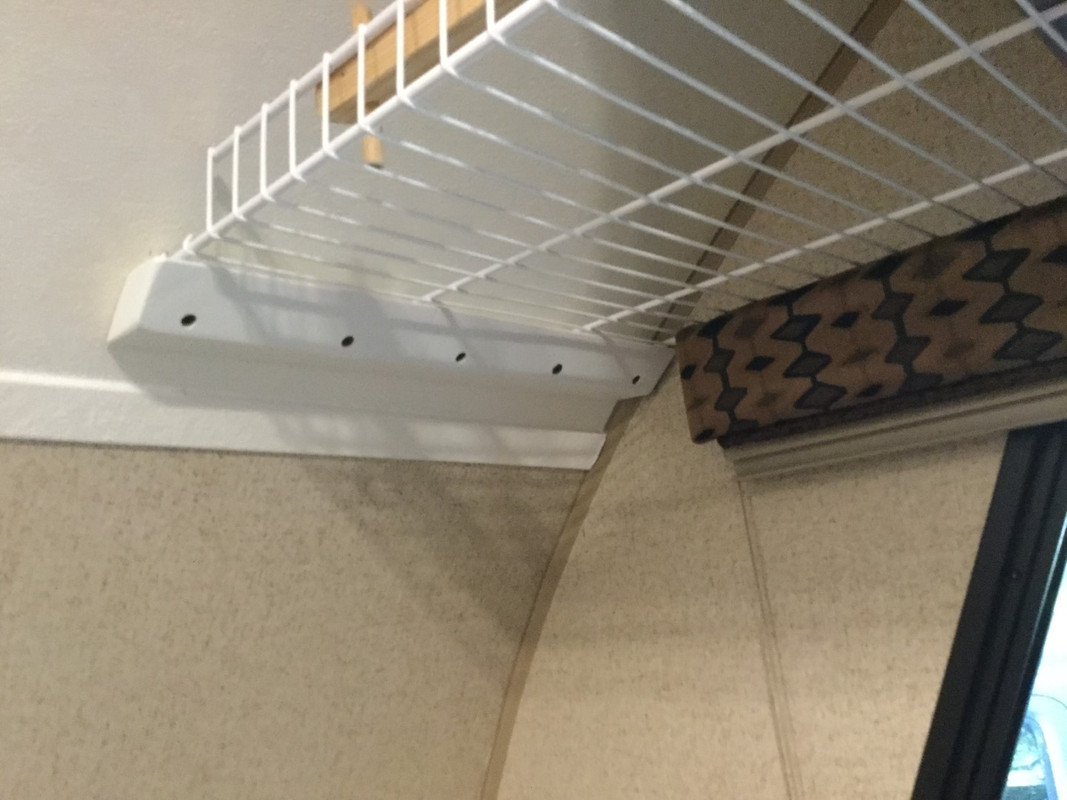
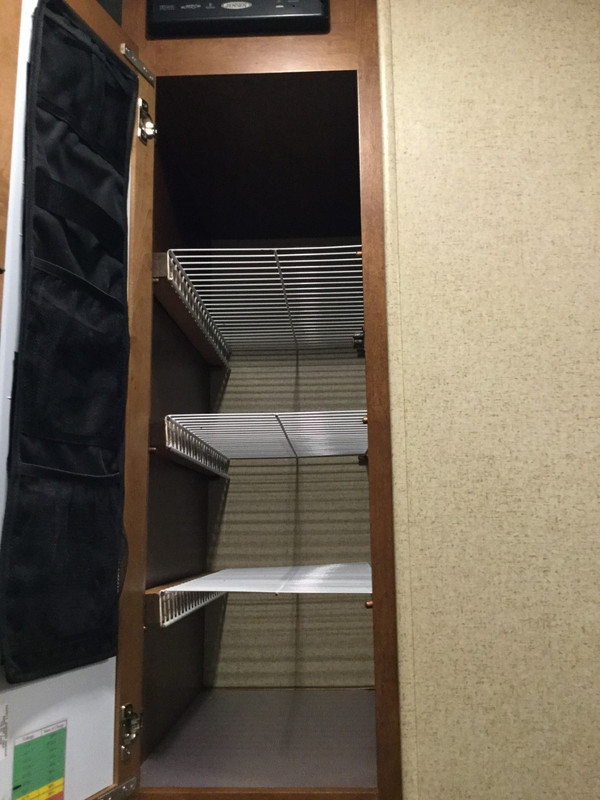
We added 3 wire shelves in the wardrobe so that we each have2 shelves for our clothes.  There is alsoa pocket unit velcroed to the inside wardrobe door.


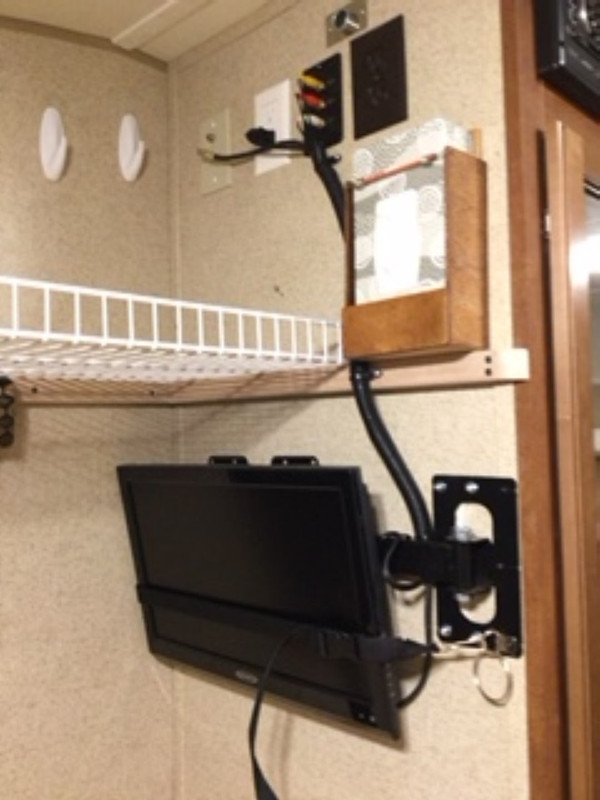
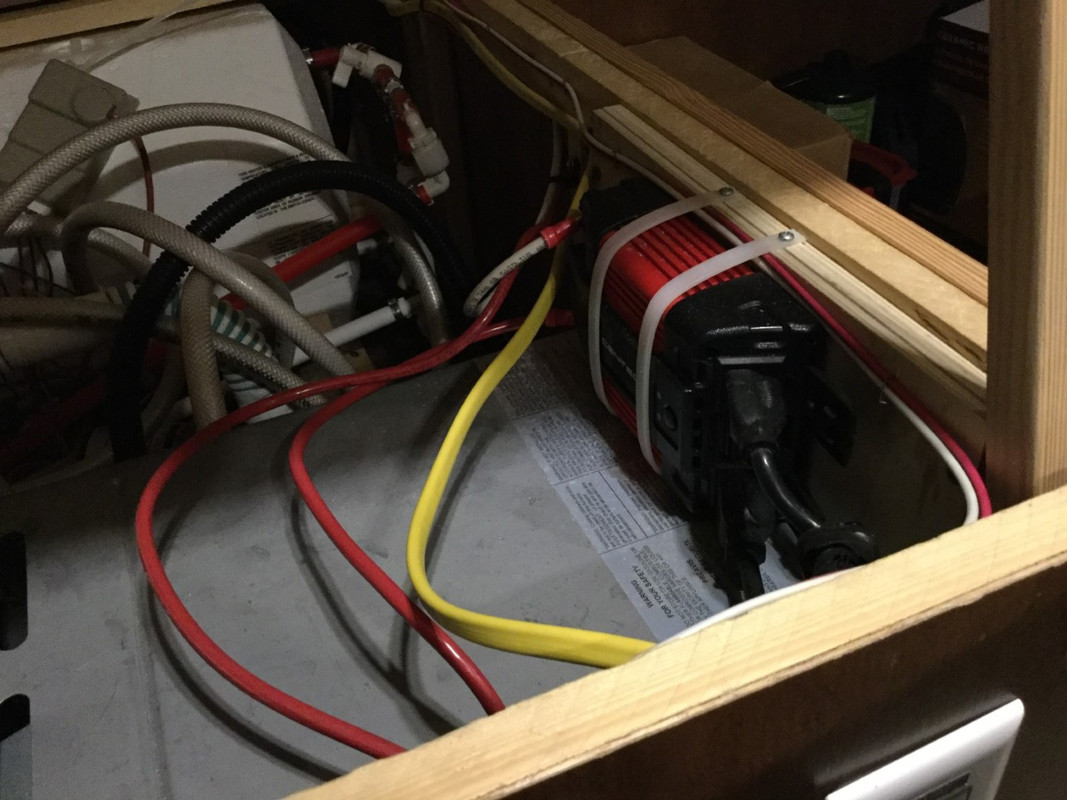
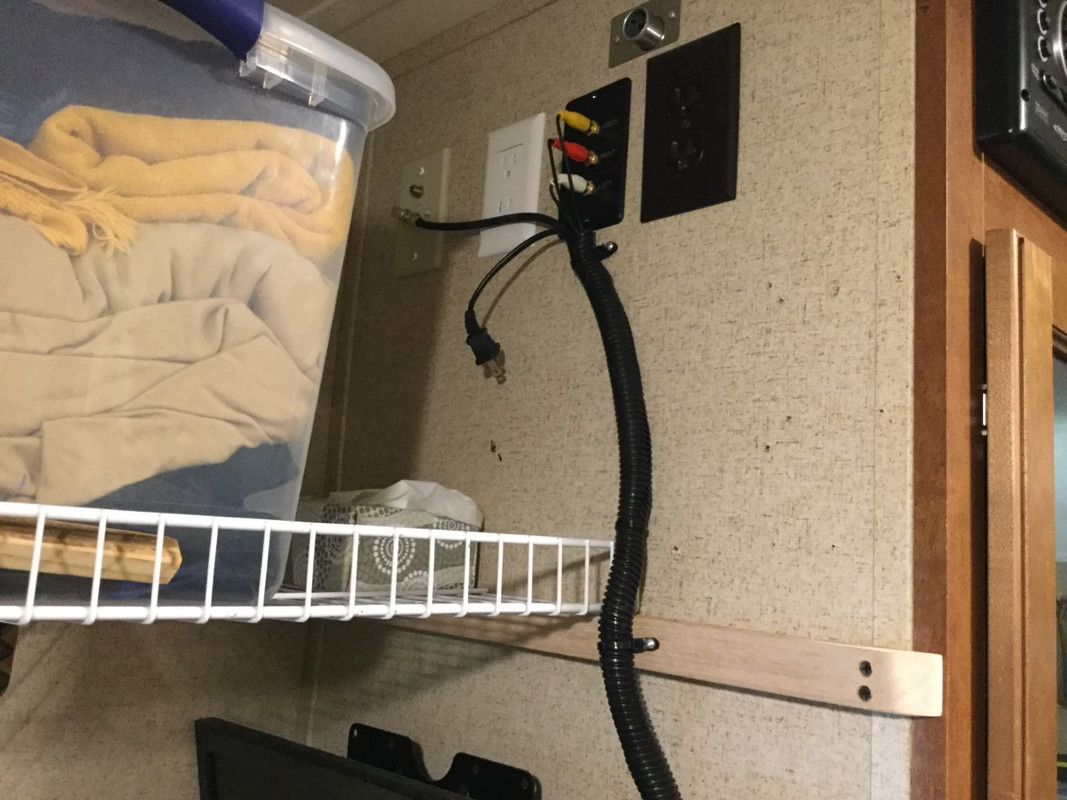
I installed a 400watt inverter under the bed. The inverterdraws power continuously, so I put an inline switch to power it on/off.  I added 2 110 receptacles that are connectedto the inverter. The inverter switch and the 2 receptacles are brown todifferentiate them from the standard white devices.  One receptacle is over the tv for use withthe tv or the fan.  The other is belowthe bed for a power strip under the dinette. The power strip can be connected to either the 12 volt inverter or the standardreceptacle.  I also added 2 12 voltreceptacles in the same locations.


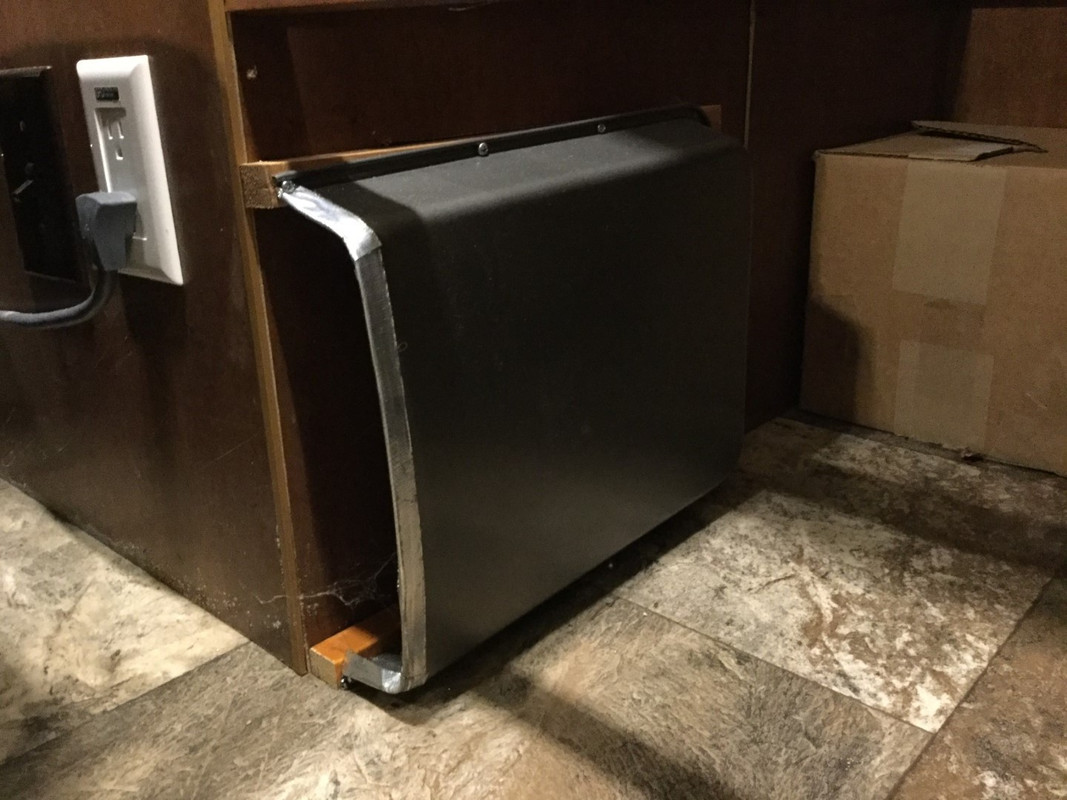
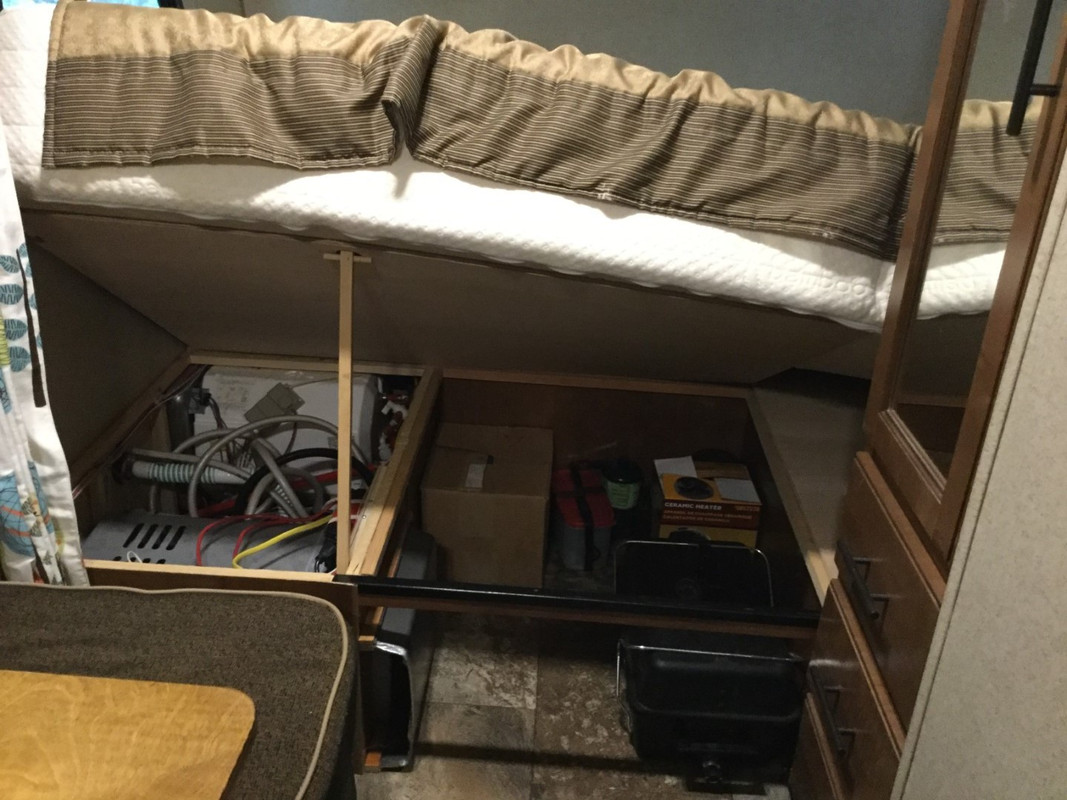
We used a Lasagna pan to make a diverter for the heater. Iadded wood furring strips on 3 sides to give it a little more clearance.  It redirects the heat flow nicely and allowsus to use the under bed storage area more completely.  Before winter use, I will insulate the pan.


I removed the wood board that spans the storage area underthe bed and replaced it with a metal U channel and smaller piece of wood.  This gives us 2” of additional height for ourstorage bins under the bed


 I also recut theplywood under the bed and hinged the front section for easier access to thewinterization valves and under bed storage area


We did a lot of mods that don’t require pictures-

Added additional reinforcement straps to both black and graytank valves;

we switched the double/single LED ceiling lights around sothat the kitchen has more lighting (double unit) and the bed area less light (singleunit);

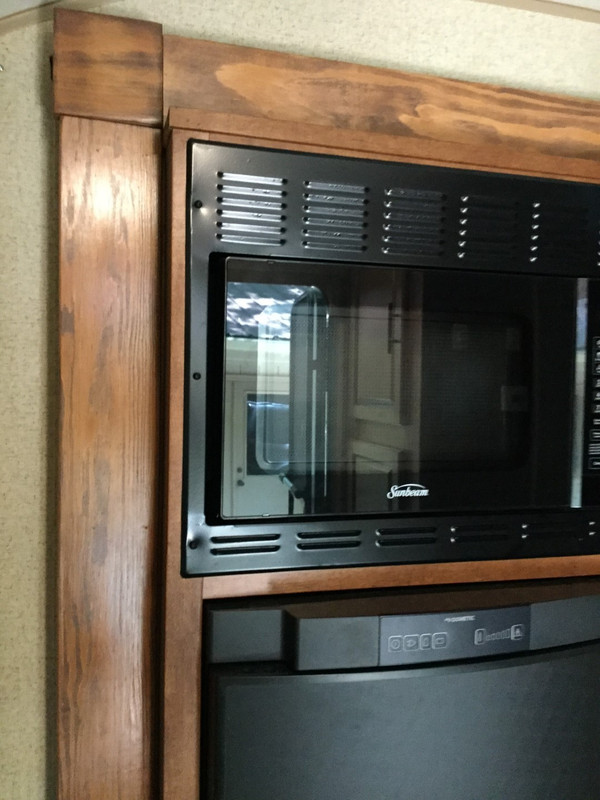
 installed wire mesh/screencovers for the water heater, heater  andrefrigerator vents; added a hanging rod in the bath;

 added multiple Commandhooks for clothing, hats and towels;

created shoe storage in both hassocks;

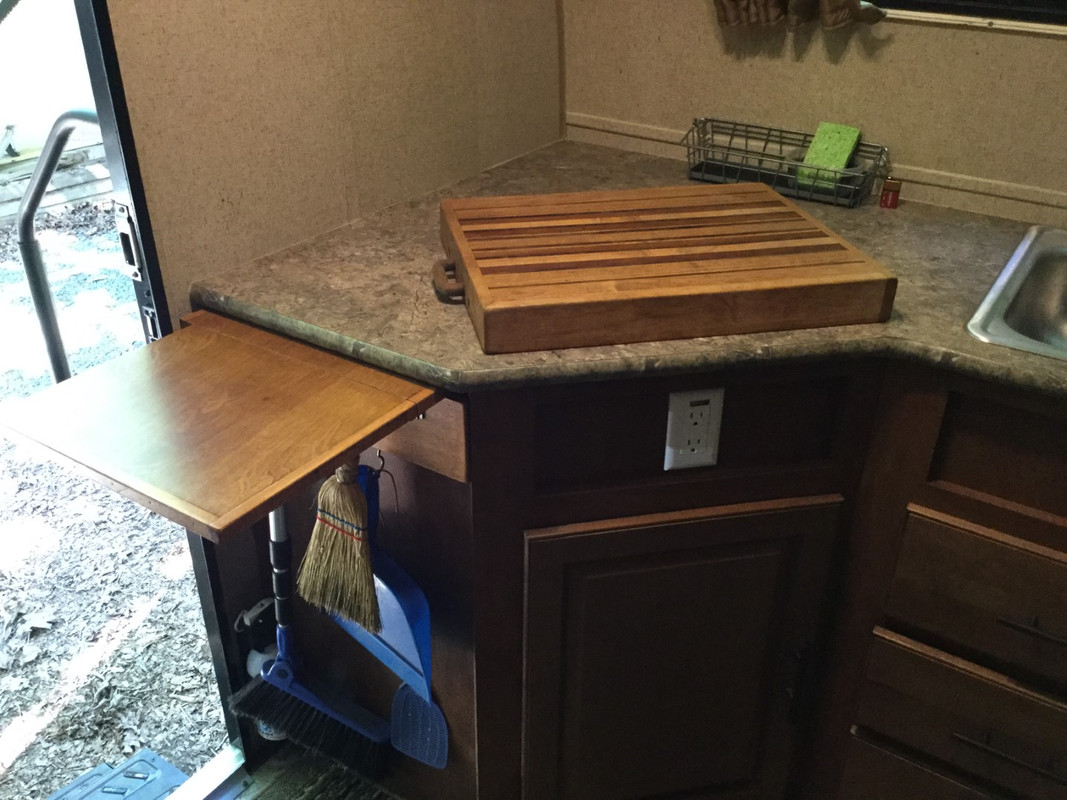
installed a paper towel holder on kitchen wall;

added an indoor /outdoor thermometer to therefrigerator/freezer:

there are still more in the works-not completed, but anticipated:

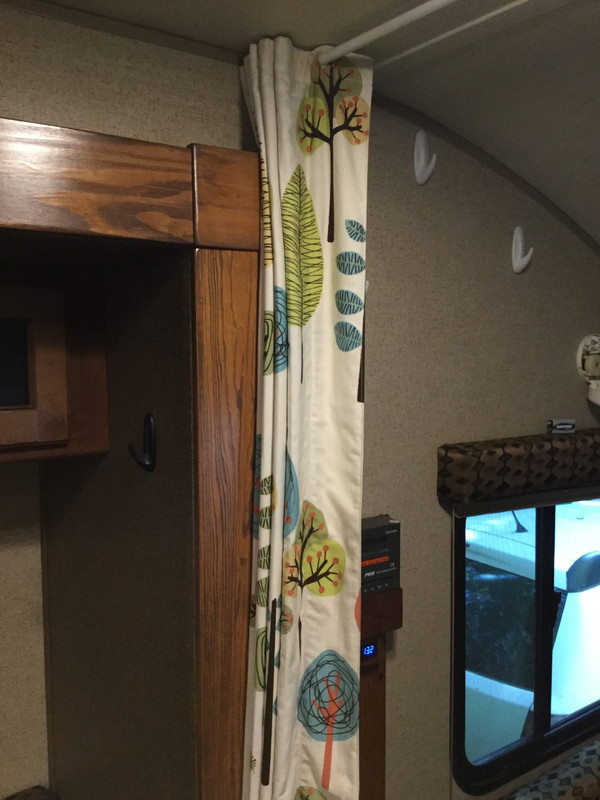
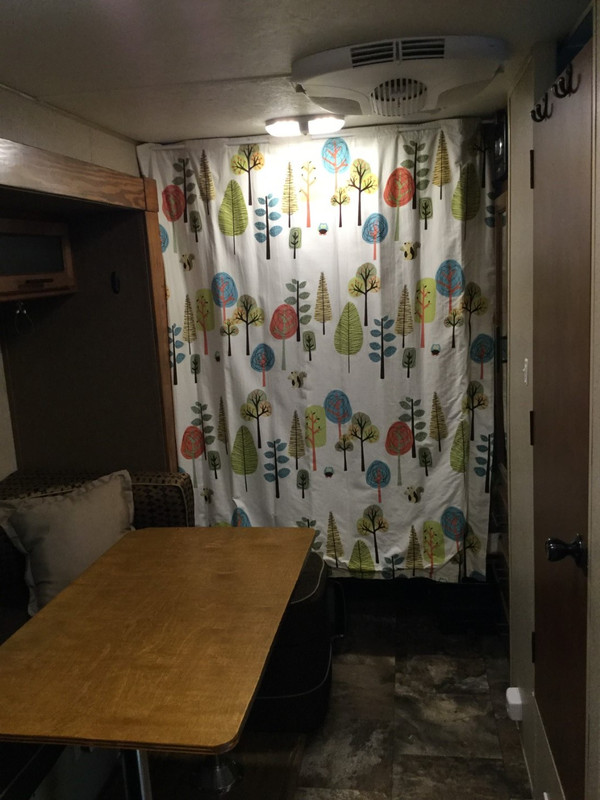
a custom awnin, new curtains, mosquito netting for the exit window and who knows what else


I hope this will help  some other podders with ideas.  It can be hard to get started, but doing modsis so worthwhile.  The R Pod is a greatplatform to start making your personal camper.

I will be glad to answer questions.

Safe travels

Vann

Podmods, Maintenance, Tips and Tricks : Pod People's 179 Mod's

$
0
0
Author: StephenH
Subject: Pod People's 179 Mod's
Posted: 12 Aug 2018 at 9:07am

Please re-think your heat diverter. If you look at the grill for the furnace, there is a square section. The larger, L-shaped section is heat output. The square section, along with slots around the perimeter are cold air returns. By putting the pan over the whole thing, you are pulling heated air back through the furnace. You need to allow for the cold air return by modifying your design to avoid the perimeter and square return sections.

Instead of a diverter, I put a ten inch O2 Cool fan at the base of the bed on the wardrobe side to pull the warm air out from under the bed and distribute it to the rest of the R-Pod. The end next to the slide-out then is free to act as the cold-air return.

One of these days, I will make a diverter that is designed to avoid the problem or maybe convert to a hydronic system that uses the water heater as a heat source instead. Both of those have been detailed by others here in the forum.
Viewing all 20725 articles
Browse latest View live